Transfers
Chapter Topics
Out Slips
Transport Catalog
Merchandise In Transit
In Slips
Transferring merchandise from one store to another is an essential part
of
successfully running a chain of retail stores. Moving merchandise from
a
store where it is not selling to a store where there is demand for
those
items can dramatically increase profitability. On the other hand,
transfers
also present danger: if you do not have the right controls in place
merchandise
can be lost or stolen while it is in transit.
Fortunately, XpertMart™ gives you the
tools
you need to effectively control the transfer process. This chapter will
explain
how to create Out Slips and In Slips
. The next chapter will discuss how to run the
XpertMatch™ process to automatically
detect discrepancies between Out Slips and In Slips and
how to make Correction Slips
to fix the differences.
If you haven't already, be sure you read the
Transactions topic before reading this chapter to learn the basics
behind making a
transaction. This chapter will only discuss the parts of the
transaction
screen that are uinque to Slips.
Out Slips
When making a transfer, the store that is sending the
merchandise
makes an Out Slip while the store that is receiving the merchandise
makes
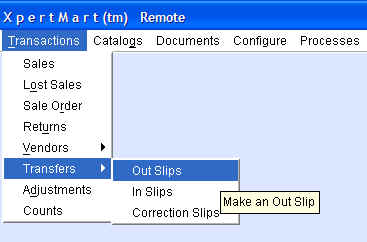
an In Slip. To make an Out Slip, go to Transactions>Transfers>Out
Slips:
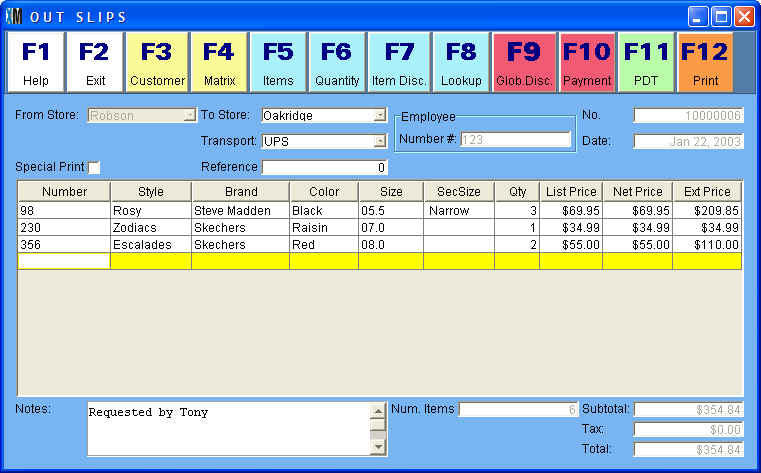
This opens up the Out Slips transaction screen, which has all of the
standard elements of all of the other transaction screens
. The only difference is that in the transaction header there are three
fields
unique to Out Slips.
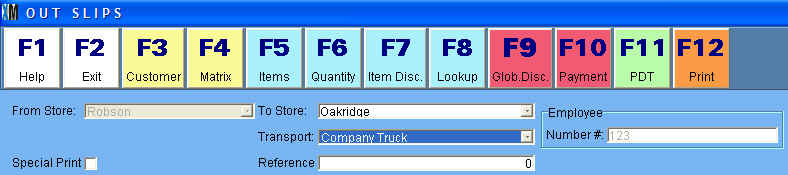
The From Store field shows the store that is making the transaction.
This
field appears grayed-out as it cannot be edited. The To Store field is
a
drop-down menu showing all of the stores from the Stores Catalog.
Select
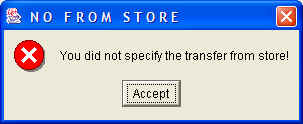
the store that the merchandise is being sent to. Note that if you
select
the same store that appears in the From Store field you will see this
error
message:
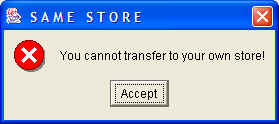
This is to close a loophole that could potentially be used for fraud.
All
Out Slips must identify a store that will receive the merchandise.
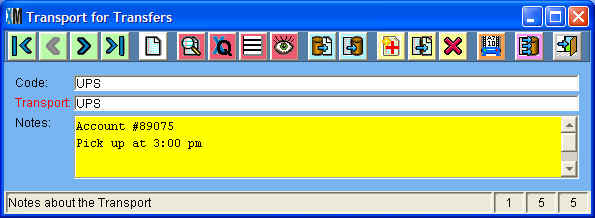
Transport Catalog
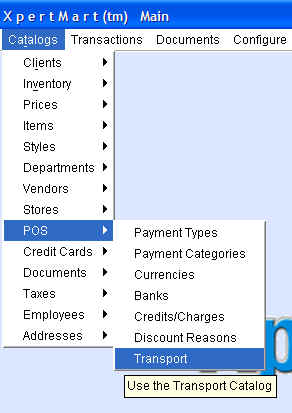
The third field in the header that is unique to Out Slips is
the
Transport field. This field is a drop-down menu that contains the
entries
in the Transport Catalog. The Transport Catalog can be openend by going
to
Catalogs>POS>Transport.
Enter the modes of transport used in store transfers. This will make it
easier
to track down merchandise that is lost in transit. You can use the
Reference
field in the Out Slip under Transfers, for example, to enter a tracking
number
if you are using UPS or Fedex to send the merchandise.
Merchandise In Transit
Once you've specified the destination store and the mode of transport,
you
can proceed to enter the merchandise being transferred into the
Items Area of the Out Slip. In the example below, 3 pairs of Rosy
Black 5.5 Narrow,
1 pair of Zodiacs Raisin 7.0 and 2 pairs of Escalades Red 8.0 are being
sent
from the Robson store to the Oakridge store.
Once you press <F12> those items are subtracted from the
inventory
of the store sending the merchandise. However, they are not added to
the
receiving store until that store makes an In Slip. In the meantime,
that
merchandise is considered in transit- subtracted from the sending store
but
not yet added to the receiving store. The
next chapter explains how to track merchandise in transit.
When you have finished an Out Slip and printed, it gets stored in the
Documents>Transfers>Out Slips catalog.
In Slips
When a store receives merchandise from another store it
creates
an In Slip. This is done by going to Transactions>Transfers>In
Slips
which opens up the In Slips transaction screen:
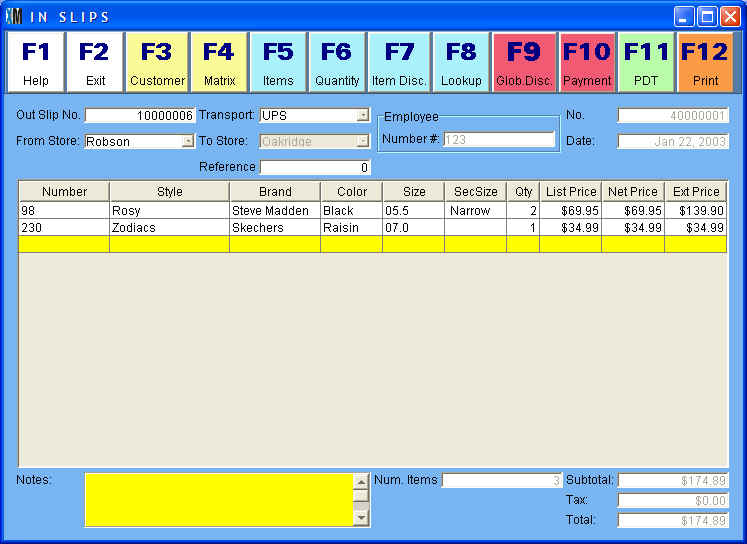
The In Slip screen includes the same three fields in the header that
that
Out Slips have: From Store, To Store and Transport. Only this time the
To
Store field is grayed out as the name of the receiving store is
automatically
filled-in. If you try to print the In Slip without specifying the
sending
store, you will get this error message:
This is to close a loophole that could potentially be used for fraud.
All
In Slips must identify the store that is sending the merchandise.
Unique to In Slips is the Out Slip No. filed where you should enter the
Out
Slip of the merchandise being sent. Entering the Out Slip number makes
it
possible to match Out Slips and In
Slips and detect discrepancies. Linking an In Slip to an
originating Out Slip
is what really allows you to have control over transfers. If the Out
Slip
number appears incorrect, you will see an error message like this:
While there is no way for the system to know the exact Out Slip number,
it
can know if the number you enter matches the store you enter in the
From
Store field, and if the number of digits is too small or too large.
You will notice that once the Out Slip number is entered, the system
does
not populate the Items Area of the In Slip with the merchandise that is
in
the original Out Slip the way a Receipt gets populated with data on a
Purchase
Order. This is because maximum control is achieved through "blind"
transfers.
Ideally the receiving store should not know what merchandise the
sending
store claims it sent. This reduces the opportunity for theft or fraud.
For
example, if the sending store creates an Out Slip with 18 items but the
receiving
store notices that 19 were sent, the employee making the In Slip is
free
to claim 18 items were received and keep the extra one that was
accidentally
seen.
Therefore, when merchandise is transfered out of the store, the Out
Slip
that gets printed should show the date, employee and Out Slip number,
but
should not specify the items being sent.
In the example above, the Oakridge store is receiving 2 pairs of Rosy
Black 5.5 and one pair of Zodiacs Raisin 7.0. The example intentionally
creates a discrepancy between the items sent in the Out
Slip above and the items received on this In Slip. In the next chapter we'll see how XpertMart™
handles this discrepancy.
When you have finished an In Slip and printed, it gets stored in the
Documents>Transfers>In Slips catalog.
Copyright © 2004 Dinari Systems LLC